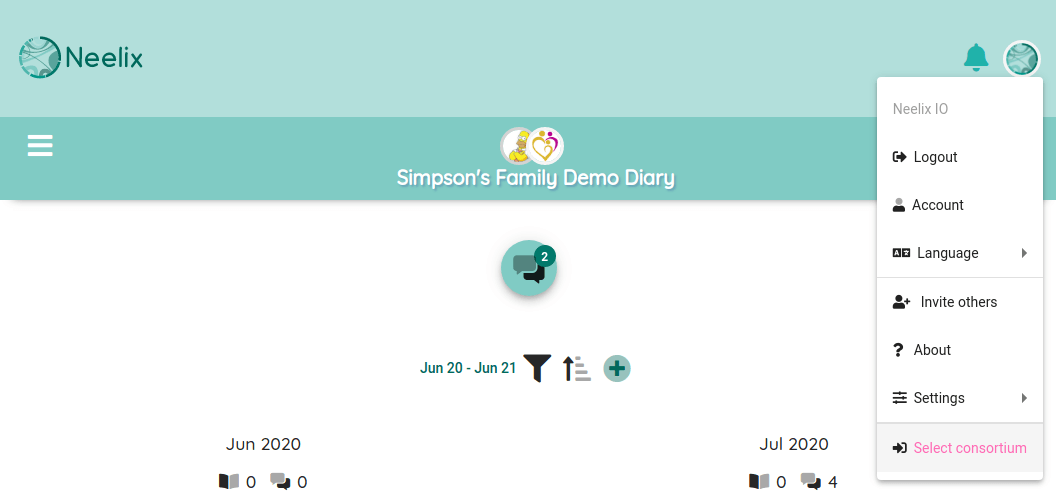
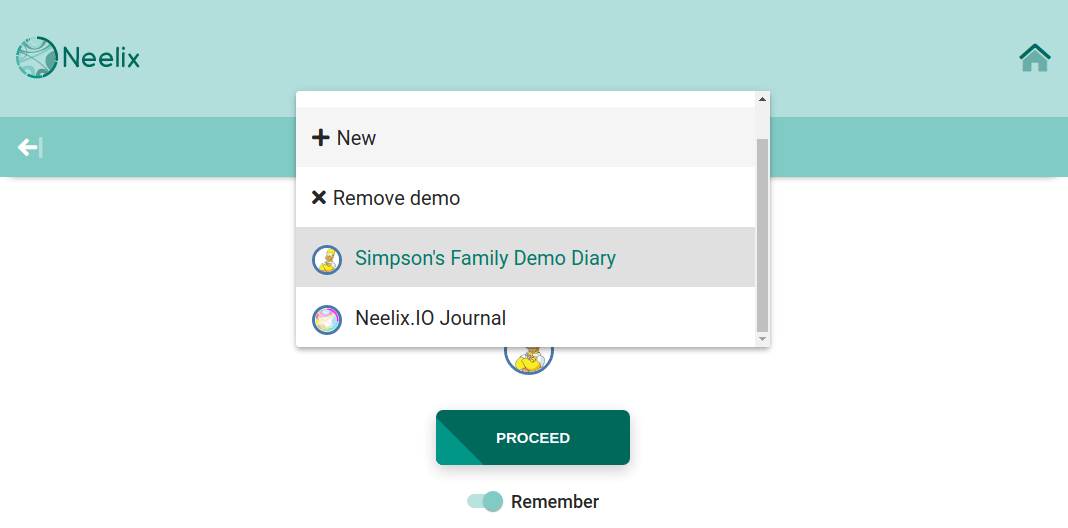
How to create a new consortium
Overview
Neelix Consortium is a private space for your team, organisation, or project. Ongoing experience, retrospectives, and other posts are aggregated and managed in this space with enforced role access based permissions.
The "maintenance owner" of the consortium can control these aspects of the Consortium:
- Users access and roles assignment
- Configure experience categories
- Configure activities
- Configure teams
- Configure visual preferences for the consortium (logo, dashboard option, etc)
- Set custom names to feature modules to reflect the context (for example, you could rename the Time Capsule messages module as "Our Water-cooler")
- Configure other settings (for instance Gamified Karma rules, Mind Map settings, etc)
Read more about the concept of a Consortium in Neelix on our FAQ page.
Configuration
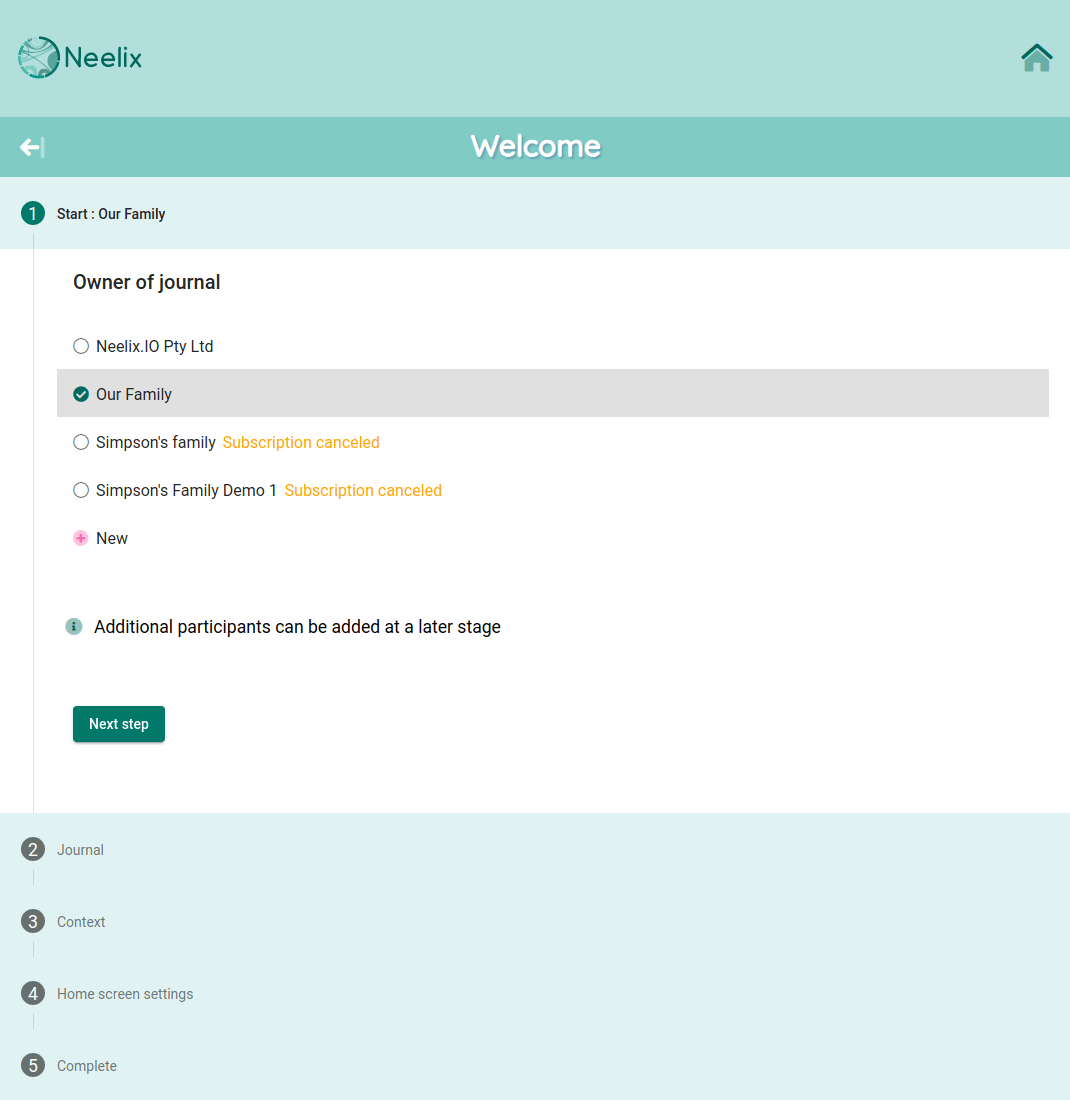
2. Select Owner / Billing Entity
- If you previously created a Consortium or are a member of an existing billing entity, then you can select that entity from the list
- Alternatively, click on New to setup a new entity
- When the new entity is created, you will be navigated back to Consortium create page
- Make sure billing entity is selected
3. Set consortium settings
- At the next step choose journal type and give your consortium a name that reflects your context. Feel free to inject some humour if appropriate - for instance "A-Team", ABC Company water-cooler", "Project ABC Introspection"
- The following step enables you to configure experience categories, activities and teams. You may keep or remove the defaults and update these settings at a later date
- The final step is to select the format for the home screen - choose between a simpler calendar view or the full functionality dashboard
4. Ready to create
- Once all above settings are complete, the "Create" button is enabled
- Free trial is applicable to any new consortium
- When the free trial period ends, the system will prompt you to add payment details


